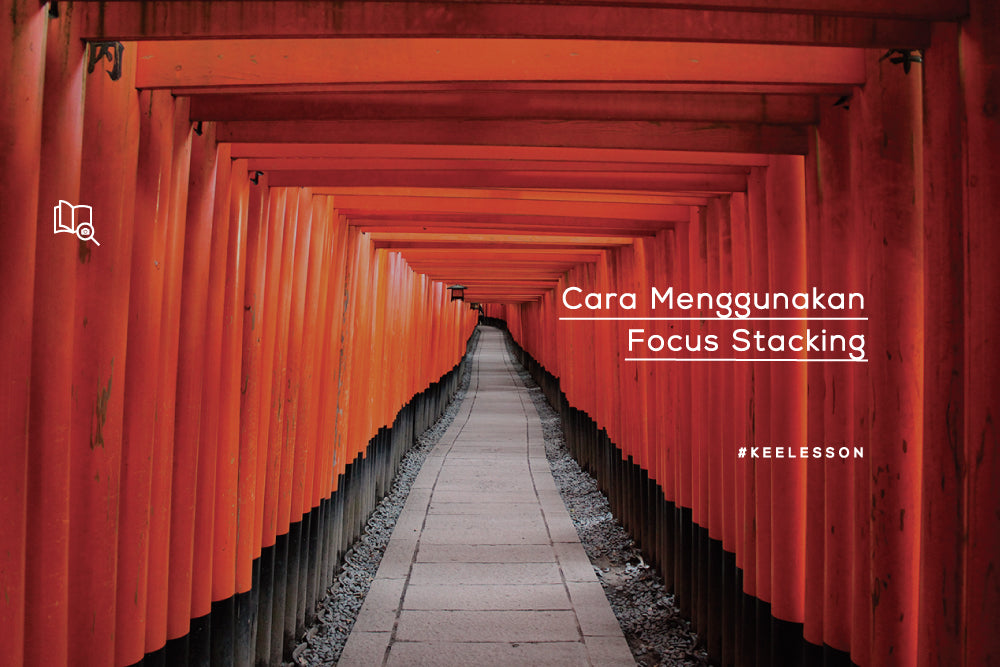
It's not hard to get good photos using this technique, as long as you're patient and willing to practise. It's a good idea to use a tripod to help take photos so that they don't shake. It's best not to change the focus of the photo too much. It's better to take the first photo first, then see which part is out of focus, then focus on that part. You can use the zoom feature to get a better look at your photos.
Once you've taken the photo, you can process it using Adobe Photoshop, Zerene Stacker or Helicon Focus. It's important to make sure all the photos have the same lighting, otherwise they'll be unstable. But if the lighting changes when you're taking pictures, you can use AE-Lock to lock the exposure so that the lighting is consistent in all images.
Here are a few simple steps for processing images using the focus stacking technique in Photoshop:

Original image with Nikon D800E + 70-200mm f/4 @ 92mm, ISO 100, 1/8, f/5.6
Source : https://photographylife.com/landscapes/focus-stacking-tutorial-for-landscape-photography
Insert all images, highlight all photos > right click and select Edit in > Open as layers in Photoshop

After all the photos have entered Photoshop, select all layers, click Edit > Auto-Align Layers.

Click Edit > Auto-Blend Layers, select Stack Images


Click Layer > Flatten Image. Save the photo, File > Save

Open Photoshop again, you need to crop the image because usually the edges of the image look very blurry.

After you crop the photo, you can edit the photo according to what you want.

Photo results using focus stacking technique by Spencer Cox

