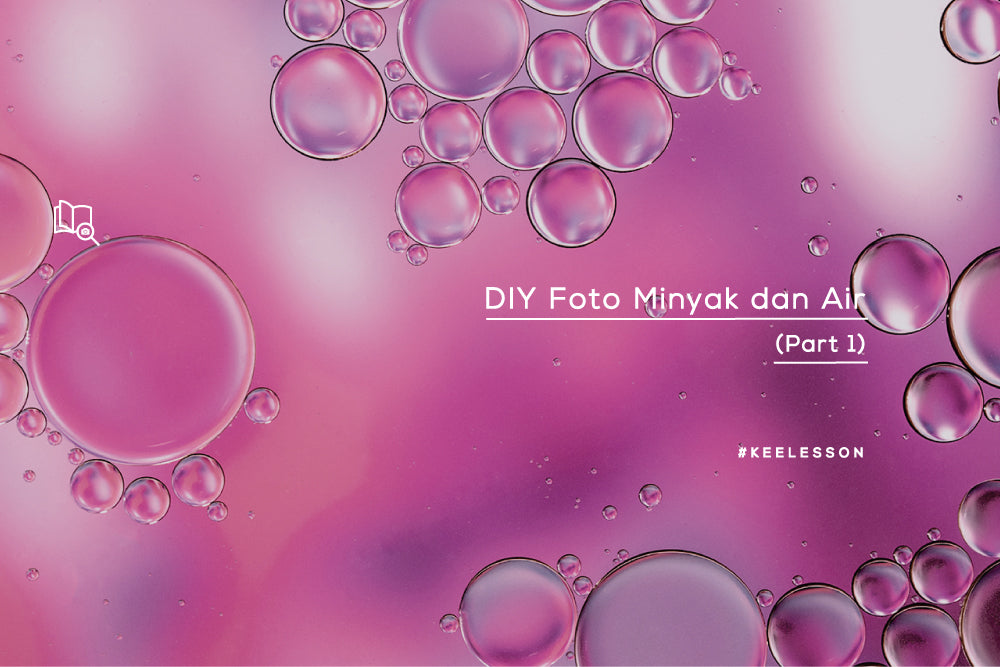
KEE friends have another new idea for working at home, you can also experiment. Oil photo? Can it really be good? Eitsss.. Come on, check out the tips below..
1. Prepare the necessary equipment
The equipment used is not too much and is quite simple:
- The glass bowl is quite large and about 20cm deep. The bigger your fist, the bigger your photo area and the more bubbles you can capture.
- Some images such as wrapping paper, bright and colorful posters
- Tripods
- Oil and water
- Liquid laundry soap (optional)
- Flash (optional)

Source : https://adaptalux.com/
2. Bright and colorful background images can add aesthetics to photos
You can use any background to make your photo more interesting. The brighter and brighter it is, the better. Wrapping paper with various motifs and images will make your photos more interesting.

Study in Oil and Water' by Elize Heymans, Canon EOS 70D, 100mm, 1/500sec at f/5.6, ISO 100
3. Arrange your photo location as small as possible
Because you will be taking several pictures for quite a long time, you need to make sure your position and settings are beautiful enough to linger there for a long time.
Place your background paper under a glass bowl, fill the bowl with water. It is recommended to fill the water until it is almost full because it can provide sufficient distance between the water surface and the background. Then pour the oil into the water. The amount of oil depends on individual wishes. It's best to add a little first, if it's not enough you can add more. Meanwhile, if there is too much, you can't reduce it. The more oil, the fuller the photo you will get.

'Oily 2' by Dan Power, Canon EOS 5D Mark III, 105mm, 1/250sec at f/2.8, ISO 100
4. Keep in mind that the amount of water really affects the final result
Why? If you only pour a little water into the bowl, the texture of your bowl will be visible in the photo, such as scratches or brand logos on the bowl and other details on your bowl. But it comes back to individual preferences. If you want your photos to be clean from these stains, you should use lots of water.

'Oil and Water' by Alan Ranger, Sony A700, 100mm, 1/200sec at f/7.1, ISO 200
5. Add liquid laundry soap
By adding liquid laundry soap you can make the oil bubbles look more prominent. Add the liquid washing soap after you put the water in the bowl, then add the oil.
Apart from that, laundry soap can also make the bubbles look thicker and more 3-dimensional. The difference is that if you don't use liquid washing soap, your bubbles will look flatter.


