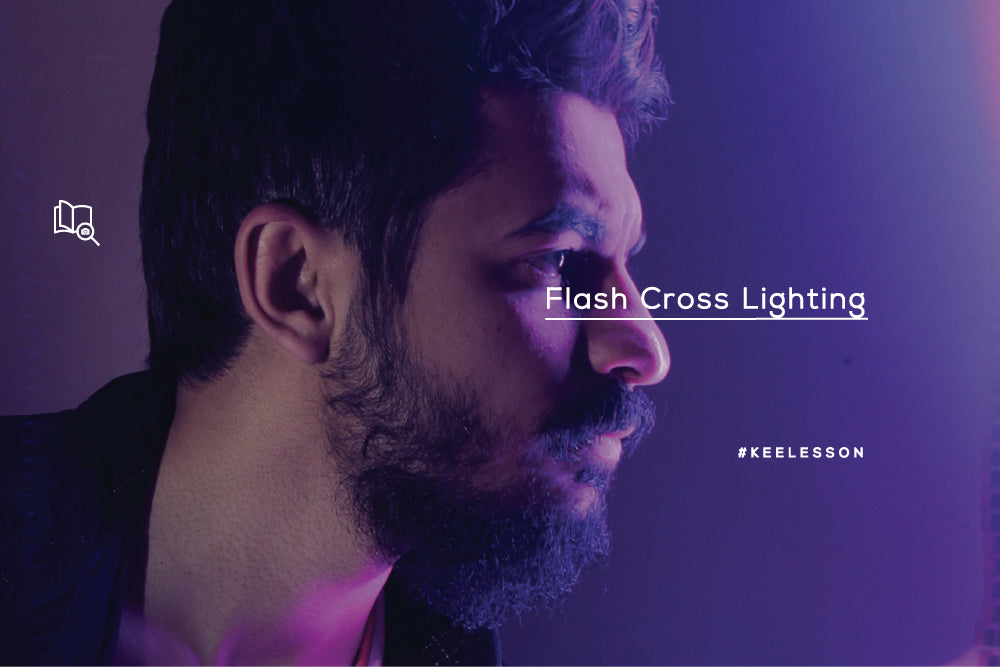
This time, let's discuss using flash with cross lighting techniques. Sometimes if you're shooting during the day, especially during the hours when the sun is really high, if you're not clever enough to do it, the results will definitely not be good. Especially if you take a photo of a model, you can see shadows under the eyes, under the nose, the light is flat and very hard. Well, but you can also try it by looking for trees so that the light is softer, KEE friends. But be careful, under trees there is usually light leaking from between the leaves which can make your photo spotty and quite disturbing, especially if it falls right on the model's face.
You can overcome this by using an external flash. You can try the cross light technique. Quite simple with 2 flashes on the front and back of the subject.
Source : http://www.infofotografi.com/
Flash 1: Located at the front of the subject which is useful for neutralizing light leaking from between the leaves. The flash zoom can be made quite wide, around 35mm with 1/8 power and a flash distance of 3 meters to the model. With this setting, it is hoped that the light will spread evenly to the subject's face and body area, with the resulting light being quite smooth. Apart from that, what is quite important is that it can cover the light from between the leaves.
Flash 2: Located behind the right of the subject. This flash helps give dimension to the photos. The power used is the same as 1/8, only the flash distance to the model is closer to around 1 meter with a zoom of 85mm. It is important to note that the direction of the flash must be sideways so that light does not enter the lens. You can also use a hood or lens hood.
Source : http://www.infofotografi.com/
This is a before-after photo edit. By using cross lighting techniques, the model's face and body look prominent without any light leaking. The hair details on the front and back sides look good with the flash on the back.


