To produce ray of light photos is not difficult as long as you know the trick. Apart from that, it also takes persistence and luck to get truly satisfying photos. Sometimes you can't just come once to get a good photo, you can try several times so patience is needed.
The tip for getting this photo is in the morning around 7.30, maximum 8.30 in the morning when the sun is not too high above. The equipment you need to prepare is quite standard, 18-55mm or 70-300mm lens, GND filter, tripod, external flash (if you have one).

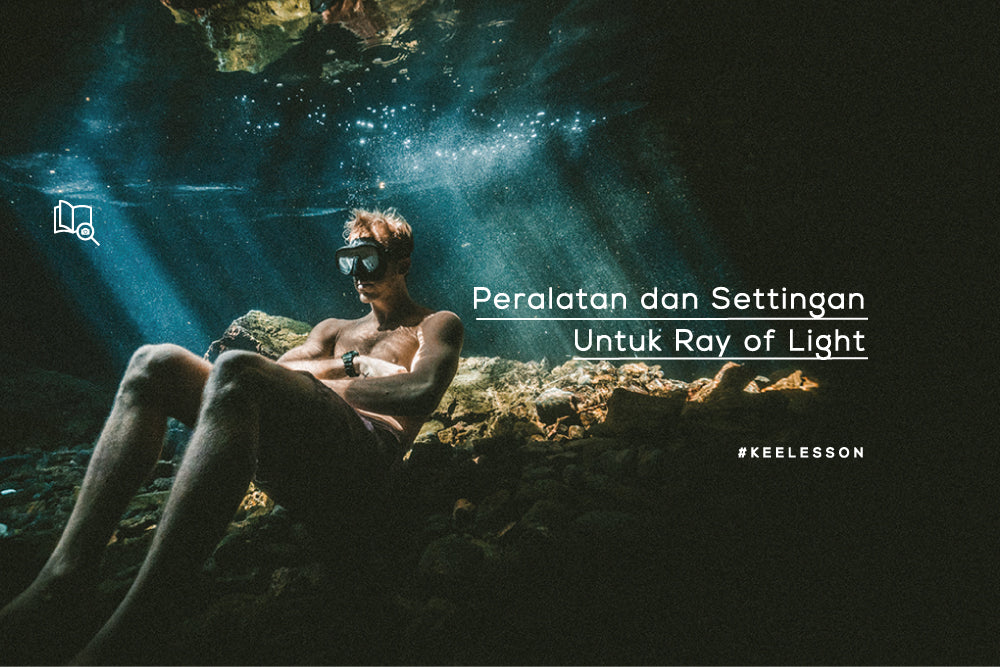
For camera settings, you can try the following settings:
Focal length : 25-55mm
ISO : 200-400 (depending on light conditions)
Exposure : 1/25 - 1/400
Aperture : f/2.5 - f/5.6
The settings above are not standard and you can adjust them to suit the lighting conditions, distance and concept you want when shooting.
Using a GND filter can help balance exposure between parts of the sky and the ground that are too contrasting. If you aim at the sun, the sky will be white and the ground will be too dark until all you see is black. With the help of the GND filter, the color of the sky can become darker so that the resulting photos are more dramatic.
You can also add engineering by adding fog to your photo if you feel it is still not enough. You can bring a fog maker (smoke machine).
