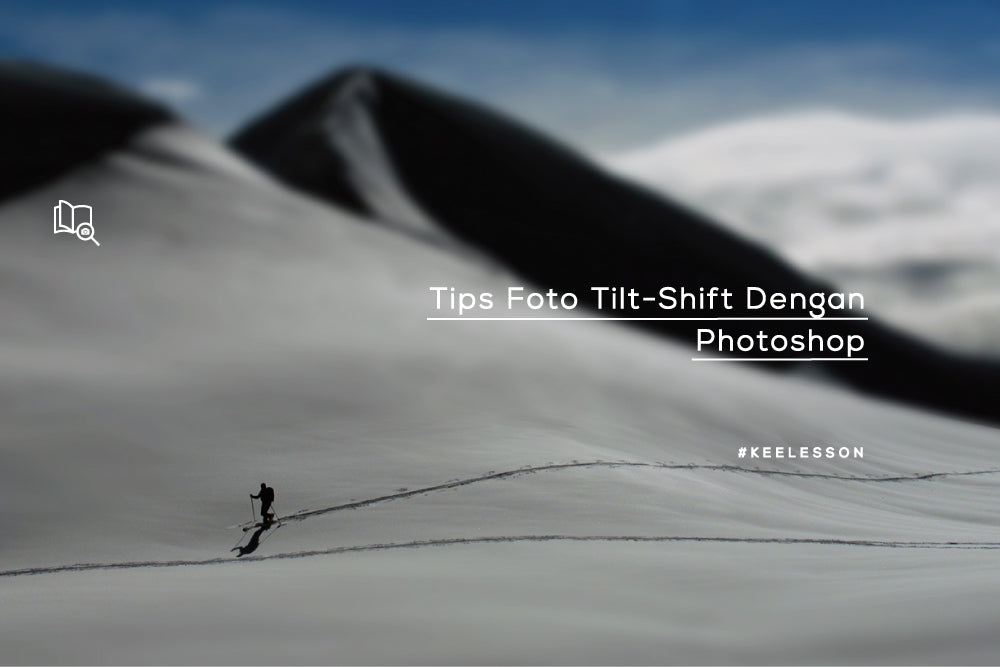
Prepare image material
The recommended angle for taking photos is a high-angle because usually miniature photos are taken from a high-angle.

Source: https://andiktaufiq.wordpress.com
Press the “Q” button to enter Quick Mask Mode, and appear in the history table
 Press the “G” key to use the gradient tool and select “Reflected Gradient”.

Press the shift key and the left mouse button, create a line drawn from the part of the image you want to focus on until it moves away. In the picture above, the line is drawn from the bus body upwards.
 A masking gradient appears like this

Press the “Q” button to exit the quick mask so that the gradient masking lines created appear.

Give a lens blur effect, Filter > Blur > Lens Blur.

Enter the parameter values you want to use. You can see the results in the image on the left. Once satisfied with the results, click OK.

 Press Ctrl + D to remove the dotted lines.
Usually the images produced by tilt-shift have high saturation and are quite bright. You can add it in Image > Adjustment > Hue/Saturation for saturation and Image > Adjustment > Brightness/Contrast for image brightness. A box appears and you can adjust the saturation and brightness levels of the image according to what you want.

So, here are the results of creating a tilt-shift effect with Photoshop. Good luck!


